In This Guide
Every new house needs it. Almost no new construction does it right. I'm talking about structured wiring — the low-voltage infrastructure that sits behind your walls and makes everything else work: ethernet drops, coax runs, speaker wire, and the rest. Get it wrong and you'll be tearing open drywall in five years to fish wire you should have pulled on day one.
As someone who works with both electrical systems and smart home installs, I've seen this play out dozens of ways. The good news: it doesn't take a specialist to do this right. It takes a plan.
Why Structured Wiring Matters
WiFi is great. WiFi 6 is better. But WiFi has limits that no access point can overcome — penetration loss through walls, co-channel interference from neighbors, and the hard physics of shared spectrum. When you're running a NAS, streaming 4K to multiple devices, working from home on a VPN, or automating a full smart home, wired ethernet is still the backbone that makes it all work smoothly.
Structured wiring in new construction is cheap compared to retrofitting. You're already inside open walls. The marginal cost of running an extra Cat6 cable to every room is maybe $15–$20 per drop when you're at the framing stage. After the drywall goes up and you decide you need a hardwired connection in the home office, you're looking at $300–$500 per drop to fish it through finished walls.
Do it once. Do it right.
Cat6 vs Cat6a — Which Should You Run?
Cat6 handles 10Gbps up to 55 meters and 1Gbps at full 100-meter channel length. For most residential uses — computers, TVs, game consoles, access points — it's more than enough headroom.
Cat6a (the "a" stands for "augmented") sustains 10Gbps at the full 100 meters with tighter crosstalk specs. If you're running cable in walls adjacent to electrical runs, the better shielding on Cat6a gives you more margin against interference. It's also what you'd want if you're future-proofing for multi-gig internet speeds coming down from fiber or DOCSIS 4.0 cable modems.
For new construction, I recommend Cat6a for any runs longer than 50 feet or runs that parallel electrical wiring. For short drops to desk locations where your patch cable is already doing the heavy lifting, plain Cat6 is fine. Budget difference: about $15–$20 per 500-foot spool — not enough to stress over if you're doing a whole house.
📦 My Recommended Gear for Structured Wiring
The must-have components for a clean, professional structured wiring install.
Solid copper, CMR-rated for in-wall use. 10Gbps-capable at full 100m.
RJ45 keystones for clean wall-plate termination. Pick leviton or Legrand.
Flush-mount panel with room for patch panel, router, switch, and UPS.
For satellite, cable, and over-air TV. Quad shield outperforms quad shield for long runs.
As an Amazon Associate, I earn from qualifying purchases. These links help support WiredAndBuilt at no extra cost to you. See our Affiliate Disclosure for details.
Where to Place Ethernet Ports
The minimum I'd put in any house:
- One per bedroom (two if you work from home)
- Two in the living room (TV + game console/Apple TV + anything else)
- One in the kitchen (for a smart display or future countertop device)
- One in the utility/mud room (for a hub or security panel)
- Two in the home office (desktop + printer or second device)
- One at every access point location (ceiling or wall mount)
The access point drops are the ones people skip and regret. If you're putting in WiFi 6 access points — and you should be — they need a wired backhaul. Don't rely on mesh wireless backhaul; run ethernet to a central hallway or ceiling location on each floor. One AP per 1,000–1,500 sq ft is a good rule of thumb.
How to Plan Your Run Locations
Walk the house with the framing exposed. Stand in each room. Ask yourself:
- Where will the desk be?
- Where will the TV mount?
- Where will the access point go?
- Will any smart home controller or security panel live here?
Mark stud bays with painter's tape. Label each drop on the stud ("Bathroom 1 — AP", "Office — Desk"). Keep runs short and direct — avoid kinks, unnecessary bends, and parallel runs with electrical cable. Maintain at least 12 inches of separation from dedicated electrical circuits where possible. If you have to cross an electrical run, do it perpendicular.
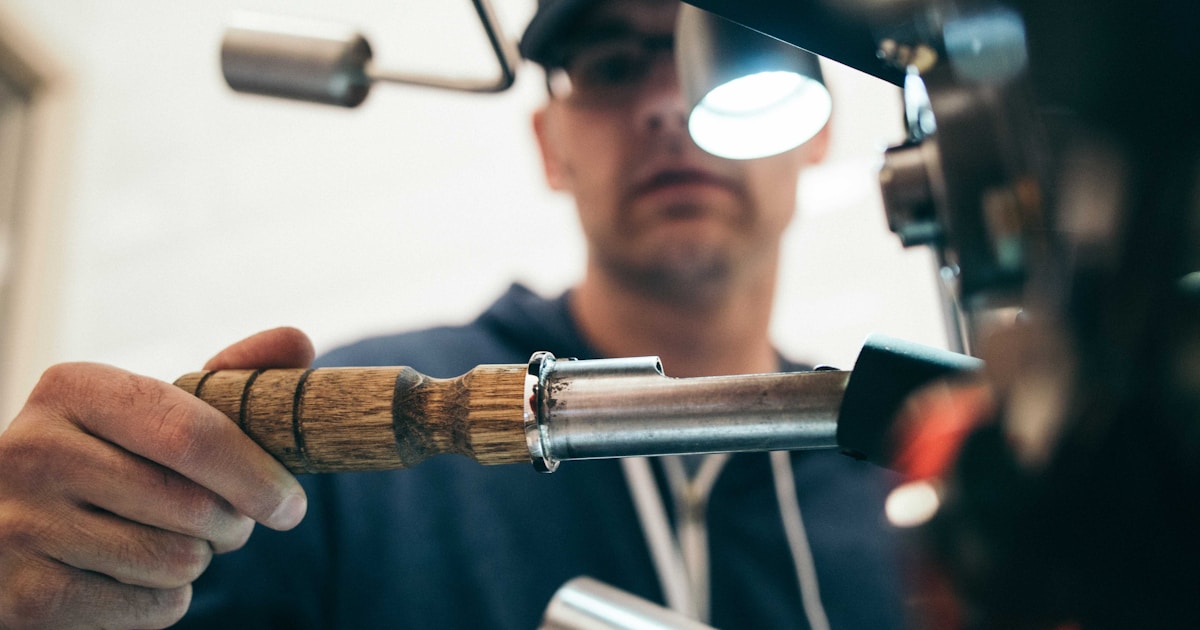
Pulling Wire Like a Pro
Use fish tape or a pull string with a mousetrap (a simple home-made pull grip). Don't overfill conduit — fill percentage rules apply. For a single Cat6 run through stud bay holes, you're fine. For conduit runs, check the fill chart: three Cat6 cables in 3/4" EMT is tight; 1" EMT is better.
Leave at least 12 inches of extra slack at each end before you cut. You can always trim; you can't add. Coil the slack loosely in the back of the device box or in the structured panel — don't cinch it tight. Sharp bends kill signal.
Label both ends of every cable before you pull. Use a label maker with the room and port number ("Office-DSK-01", "Living-TV-01"). This takes five seconds per cable and saves hours later.
Backer Boxes and Termination
Single-gang old-work or new-work boxes work fine for keystone ports. I prefer single-gang low-voltage rings (sometimes called "old work boxes" for renovation) because they're shallow and give you plenty of room to work in the gap behind the drywall. Set them flush with the drywall surface — proud boxes are a pain to trim around.
Terminate keystone jacks with a 110-style punch-down tool. Don't eyeball it — use the built-in diagram on the jack. Wire to T568B for data (that's the standard). Test every drop with a basic cable tester ($20 on Amazon) before you close walls. The cheap testers won't catch subtle crosstalk issues, but they'll catch crossed pairs and opens, which account for 90% of failures.
Don't Skip the Coax Runs
Streaming services are everywhere, but coax isn't dead. Over-air TV (OTA) is free and uncompressed — a antenna in the attic feeding four rooms via RG6 coax lets every TV in the house get local news and major network TV in 1080p without internet. Cable and satellite also still use coax to every room, and you'll want it at the TV locations even if you don't subscribe today.
Run RG6 quad-shield coax to:
- Every TV location (even ones you're running ethernet to — you'll want both)
- The attic or roof (for an over-air antenna)
- The structured panel location
Use compression fittings, not twist-on connectors. Compression RG6 with a proper $15 tool kit is reliable and takes two minutes per fitting.
The Structured Wiring Panel
Every wire in the house should home-run to a central structured wiring panel — typically located in a utility closet, basement, or garage. This is where your ethernet switch, router, and any coax splitters live. Don't undersize it. Get the biggest panel that fits your space; you'll fill it faster than you think.
The minimum I'd put in the panel:
- Ethernet switch — 8-port PoE+ if you're running access points or cameras
- Patch cables — color-coded short runs from the switch to each keystone
- Coax splitter (if using OTA antenna or cable)
- UPS — keeps your network running during brief outages
Terminate all ethernet runs at the panel using a patch panel — not individual keystone jacks. A 24-port patch panel mounted in the structured panel gives you clean termination and room to grow. Punch down each cable with a 110 tool, run your short patch cords from panel to switch, and you're done.
The Bottom Line
Structured wiring is one of the highest-ROI things you can do during new construction or a major renovation. The materials are cheap. The labor is minimal if you're already at the framing stage. The value it adds to a house — in convenience, network performance, and resale — is enormous compared to the cost of doing it right the first time.
Sketch your drop locations on paper before you buy a single spool of cable. Label everything. Test before you close walls. And if you're hiring a low-voltage contractor, make sure they understand structured wiring standards — not just "I know how to run wire." Ask about T568B termination, backer boxes, and panel layout. If they look at you funny, hire someone else.
Building out your smart home? I've got more guides on network setup, sensor integration, and Home Assistant on the site. Start with the weather station build or the PoE access point guide.